How to Fix a Roof Leak Step by Step
Fixing roof leaks is a common task in any home. Especially if the house has been built for more than five years, this is what medium quality roofs usually last and up to 10 years for higher quality ones.
To begin with, the task of waterproofing a roof and fixing leaks is not easy. We must be willing to get our hands dirty with building materials and, moreover, be careful not to suffer accidents.
Depending on the size of the roofs or the area with leaks to be repaired, the whole job could take several hours, especially since we are not professionals.
The inconvenience caused by leaks such as can be solved easily, comfortably and quickly, if we call our insurance company. When you take out a home insurance with assistance, the insurance company takes care of contacting the professionals to make the necessary repairs, such as water damage restoration, and also covers the price of the materials.
In most countries, home insurance includes assistance for problems with plumbing, electricity, locksmithing and other repairs.
Even if you are not a professional home builder, If you are a brave person with construction skills and like to do home repairs yourself, then read on.
Repairing leaks step by step
Cleaning ceilings
One of the causes of rapid deterioration of roofs is the accumulation of rubbish. At least once every three or four months, we must clean or sweep the roofs. More often, if we have tall trees near our house that drop their leaves and other organic debris.
Detect the area of leaks
The place in your house where you have the problem of the leak or humidity is the one you should prioritize.
The bathrooms, the kitchen, the bedrooms?
Once the problem has been identified inside the house, we must go up to the roof and investigate the origin. You probably have a crack or crevice.
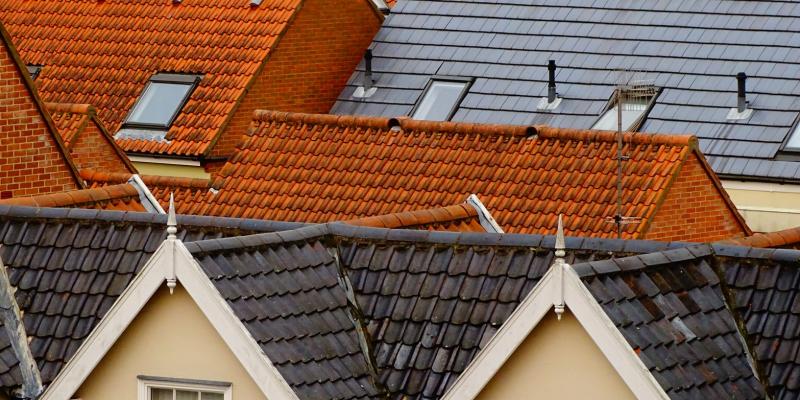
If the roof is made of tiles, they could be displaced or broken. Or maybe you have leaks from damaged connections because the putty has deteriorated.
fix leak
How to fix a leak if the roof has cracks or fissures
- Step 1. Spray the roof with water. Then prepare a mixture that should be as thick as baby food and includes: cement, marble, a sealant and water. Any building supply store can advise you on the best options for liquid sealant for waterproofing roofs.
- Step 2. Make the mixture to seal or cover cracks. You need a 20 litre bucket that fills half of the water. Use 3 liters of sealant, 4 kilograms of marble and 4 kilograms of gray cement.
- Step 3. Distribute the mixture. Once you have made the sealant mixture you must distribute it evenly with a broom over the entire surface of the roof. If it is only in small areas, a brush is enough to spread it.
- Step 4. Wait for everything to dry. It will take about 12 hours.
The good thing about this mixture is that it will penetrate through the crack and seal deep down. Say goodbye to the leaks!
How to fix a leak if the roof has deteriorated tiles or sheets
- Step 1. Check where the drip is coming from. Leaks may appear a few centimeters higher than where the leak falls in the case of roofs with a certain slope.
- Step 2. Detect if there are broken or detached tiles. This is easy. Just touch them and pull them with medium force, if you see it moving... that's it. Once located, they must be removed.
- Step 3. Waterproof. Underneath the tile you will probably find cracks. It is necessary to place a special waterproofing that they recommend in a construction shop.
- Step 4. Place the tiles. Place the new or repaired tile on top of the waterproofing. Verify that it is in place and fits with the others before fixing it with cement.
- Step 5. Check the joints and seal them. The most vulnerable areas on the roofs are those where antennae, skylights, ventilation systems and other applications involving caulking are attached. Putty deteriorates over time and needs to be reinforced. Remove the old putty with a spatula and spread the new putty with an applicator.
When performing these tasks, take the following precautions: gloves, non-slip rubber shoes, appropriate long-sleeved clothing that protects you from the sun, a ladder and safety cords.
Tips to Prevent Leakage
- Never paint with the thought that it will fix the internal leaks.
- Do not put plaster or plastic on the affected area.
- Quickly remove furniture and any electrical objects from the place where the water falls.
- Check with neighbors, as it could be a leak that is affecting more than one home in your neighborhood.
- Do not ignore moisture or small leaks.
Fixing leaks can be an empowering adventure in construction and do-it-yourself work, but if you feel you need help or simply prefer a more comfortable and professional option, leave it to your insurance.
More to Read:


Previous Posts: